

Set up a campaign
Choose the rules once, review the summary, and launch the first run.
The campaign setup wizard keeps every decision in one flow. Choose what you want to earn, where prospects should come from, which quality rules apply, how often the campaign runs, and how outreach should be handled.
Complete the campaign setup
- 01
Define the campaign goal
Choose Guest posts to find publications that accept contributed articles, or Link insertions to find existing pages where your website could be added. Create separate campaigns if you want to use both goals—the campaign type cannot be changed later.
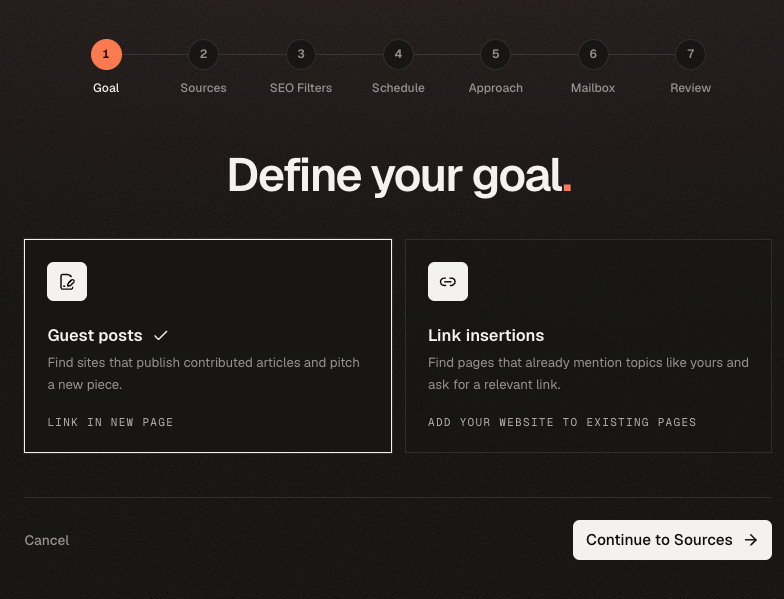
The goal determines the opportunity type and stays locked after creation. - 02
Pick your prospect sources
Choose one or more sources: Web search, ChatGPT sources, Competitor backlinks, an Existing list, or Import CSV. Set the prospect amount shown beside each enabled source. Keep unrelated audiences in separate campaigns.
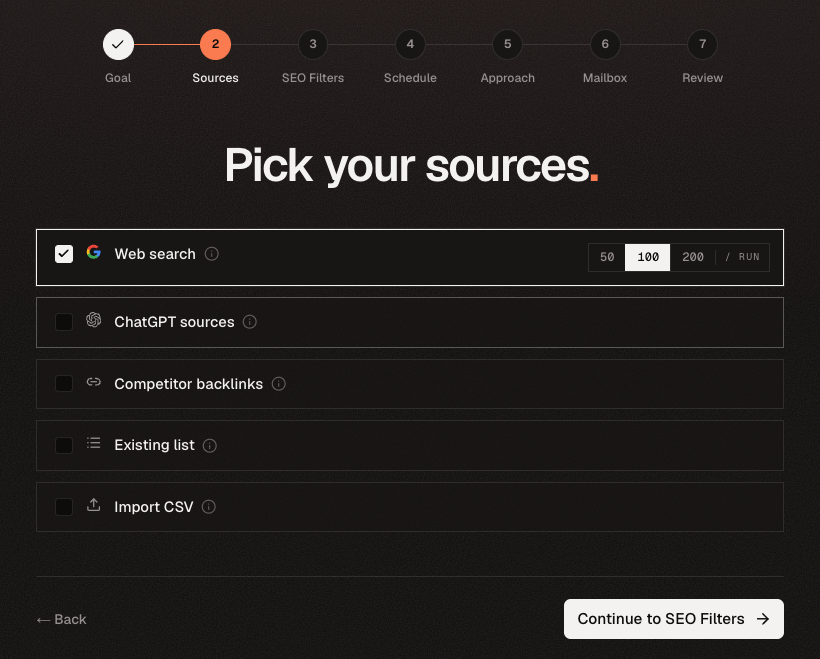
Sources decide where each campaign run looks for new prospects. - 03
Set the SEO quality gate
Turn on Apply SEO filters to require a minimum Domain Rating and monthly organic traffic after discovery and before contacts are found. DR 20 and 500 monthly visits are a useful starting point, but topical relevance still matters more than a score alone.
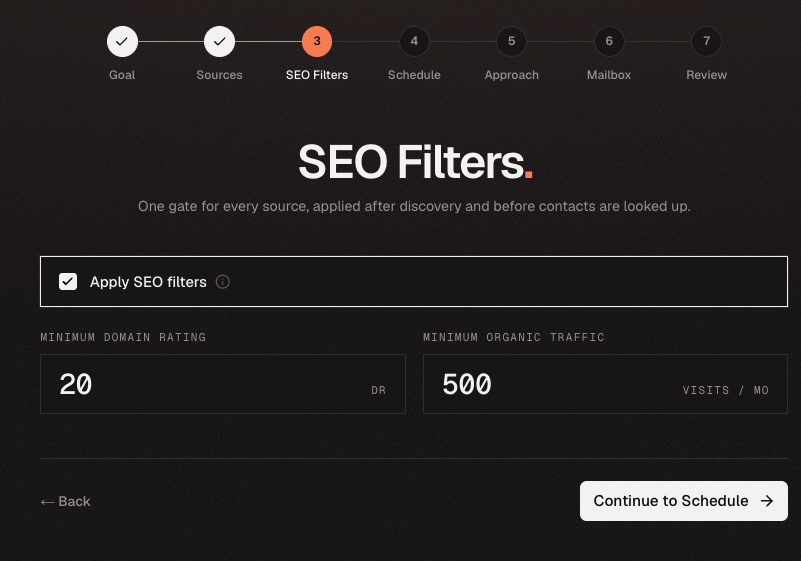
One SEO gate applies consistently to prospects from every enabled source. - 04
Choose when the campaign runs
Select Run once, Weekly, Every 2 weeks, or Monthly. Turn on Start first run immediately when the campaign should begin after creation. Review the estimated credits per run before continuing; wider searches and more sources cost more.
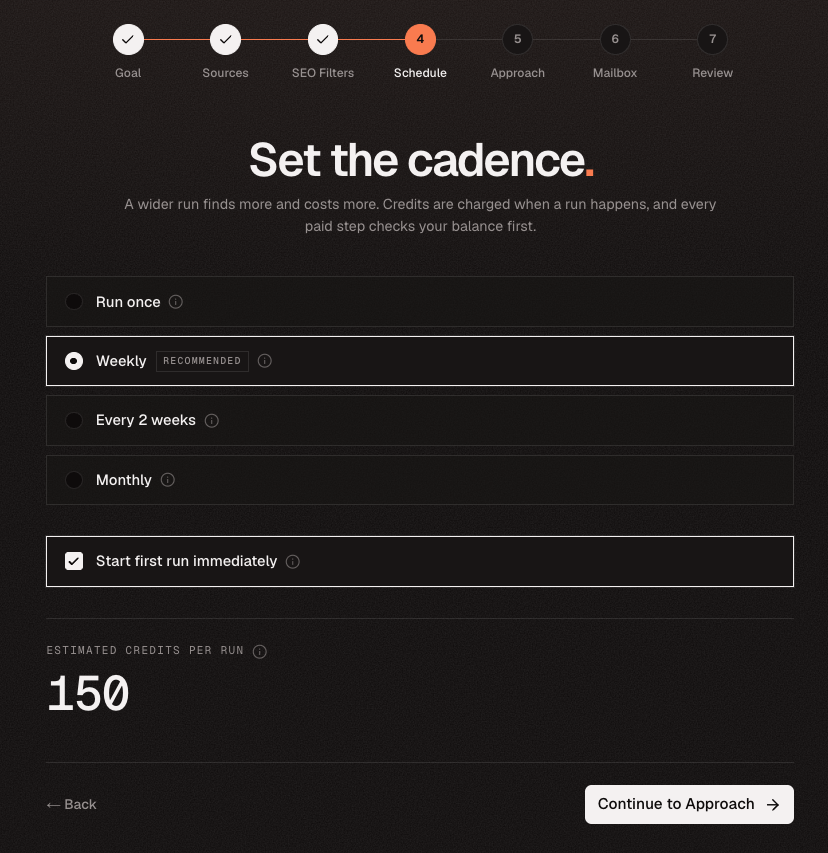
The estimate shows the discovery and filtering cost for each scheduled run. - 05
Choose the outreach approach and review mode
Describe the value, offer, tone, links, and call to action that every personalized draft should follow. Start from Custom approach, Paid placement, Backlink exchange, Free access, or Affiliate offer. Then choose Hold for my review for manual approval or Send automatically for unattended sending.
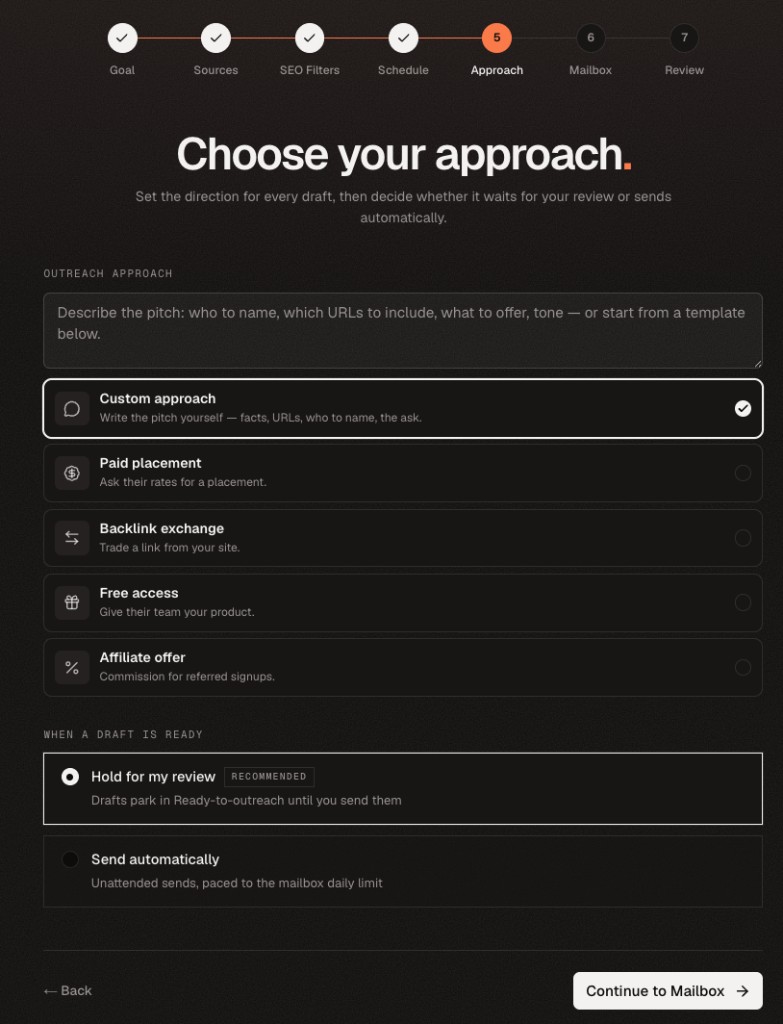
The approach guides every draft; review mode decides whether drafts wait for you before sending. - 06
Select the sending mailbox
Choose the address that should send this campaign’s outreach, or connect another mailbox. Confirm that the correct sender is selected before using automatic sending.
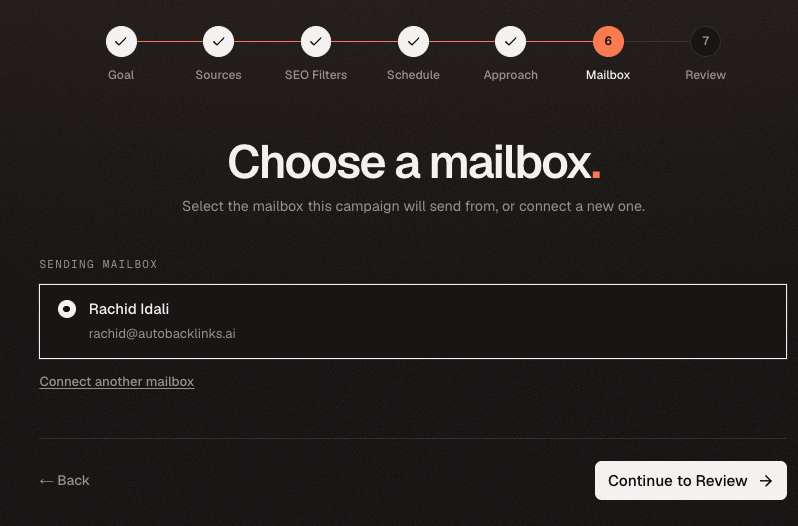
The selected mailbox supplies the sender identity for this campaign. - 07
Review and launch
Optionally name the campaign, then confirm its goal, sources, SEO filters, timing, sending mode, mailbox, and estimated credit cost. Choose Create & run now to start immediately. With review mode enabled, drafts wait in Ready-to-outreach and nothing sends until you approve it.
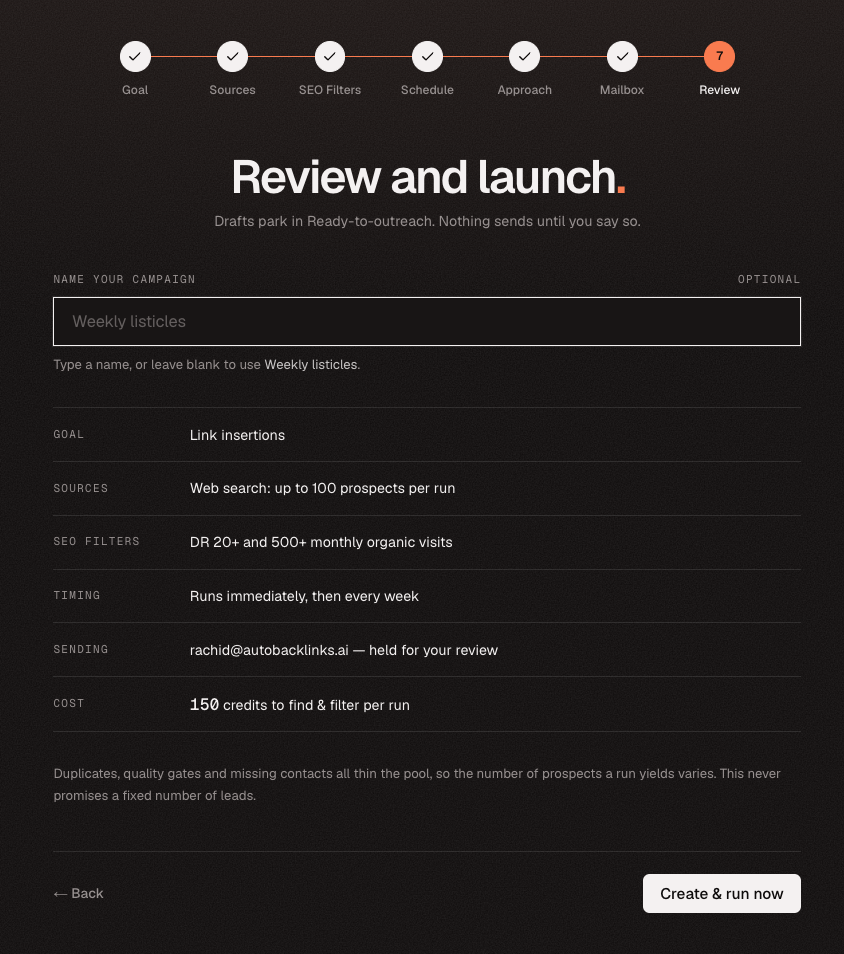
The final summary is your last check before the campaign and its first run are created.
Before creating the campaign
- The goal matches the type of backlink you want
- The sources target one focused audience
- The SEO filters balance quality and available volume
- The schedule and estimated credits fit your plan
- The approach gives accurate campaign-wide writing direction
- The correct mailbox and review mode are selected